In the online store, product images often have different dimensions. Editing them all in a single format can be tedious. In addition, advertising systems vary in requirements. Your product images will not get into the advertisement if you don't meet them.
In this guide, we are going to show you how to adjust the dimensions of images in bulk and automatically with the Feed Image Editor.
Output format tailored to the advertising system
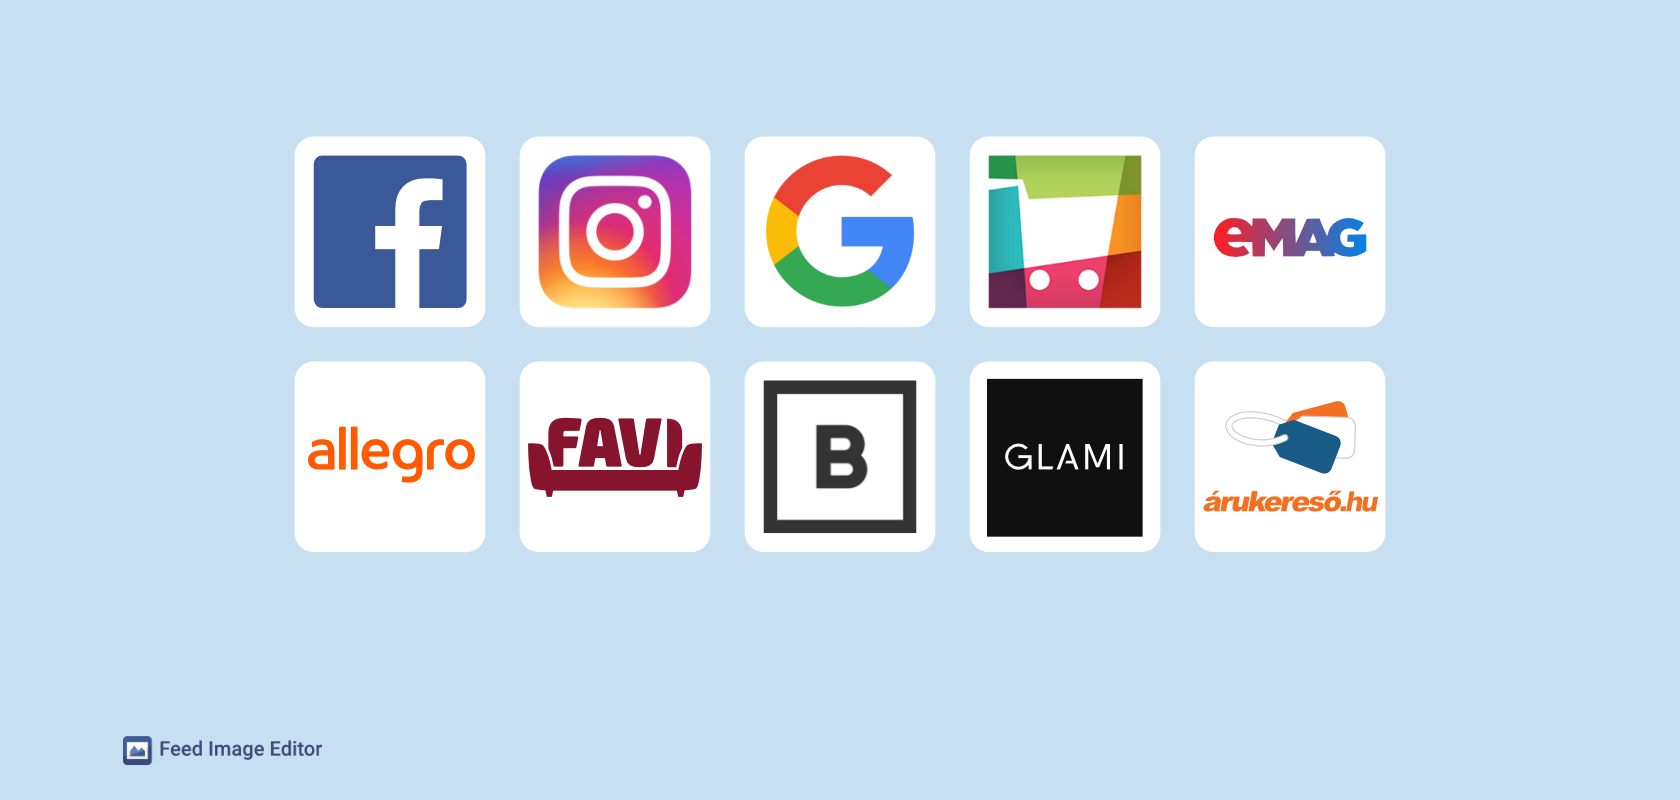
The first step is to choose an ad system and one of the supported formats. In the Format tab, you will always find the current dimensions for these shopping engines and advertising systems:
Choose one of the options, and the canvas size will be automatically adjusted to the dimensions of the desired format. In the second step, we are going to show you how to adapt product images to this format. There are several options.

TIP
If you don't find the format you'd like to advertise on in the list of supported shopping engines and ad systems, don't worry. Feed Image Editor offers to set your own format. You can find it in the list of ready-made formats at the very bottom. Just enter your own format size values in pixels.
Adjust images to the output format:
👉 No customization
The images remain unchanged in their original dimensions. This option is of great help if you have resized images - in the correct/similar size (they differ only by a few pixels). You no longer plan to edit the format and only want to work with graphic editing and elements.
But this is quite rare. On the webshop, the images usually have different dimensions. In practice, it is better to convert images to a consistent output format. It does not distort the advertising system. And you have control over their look.
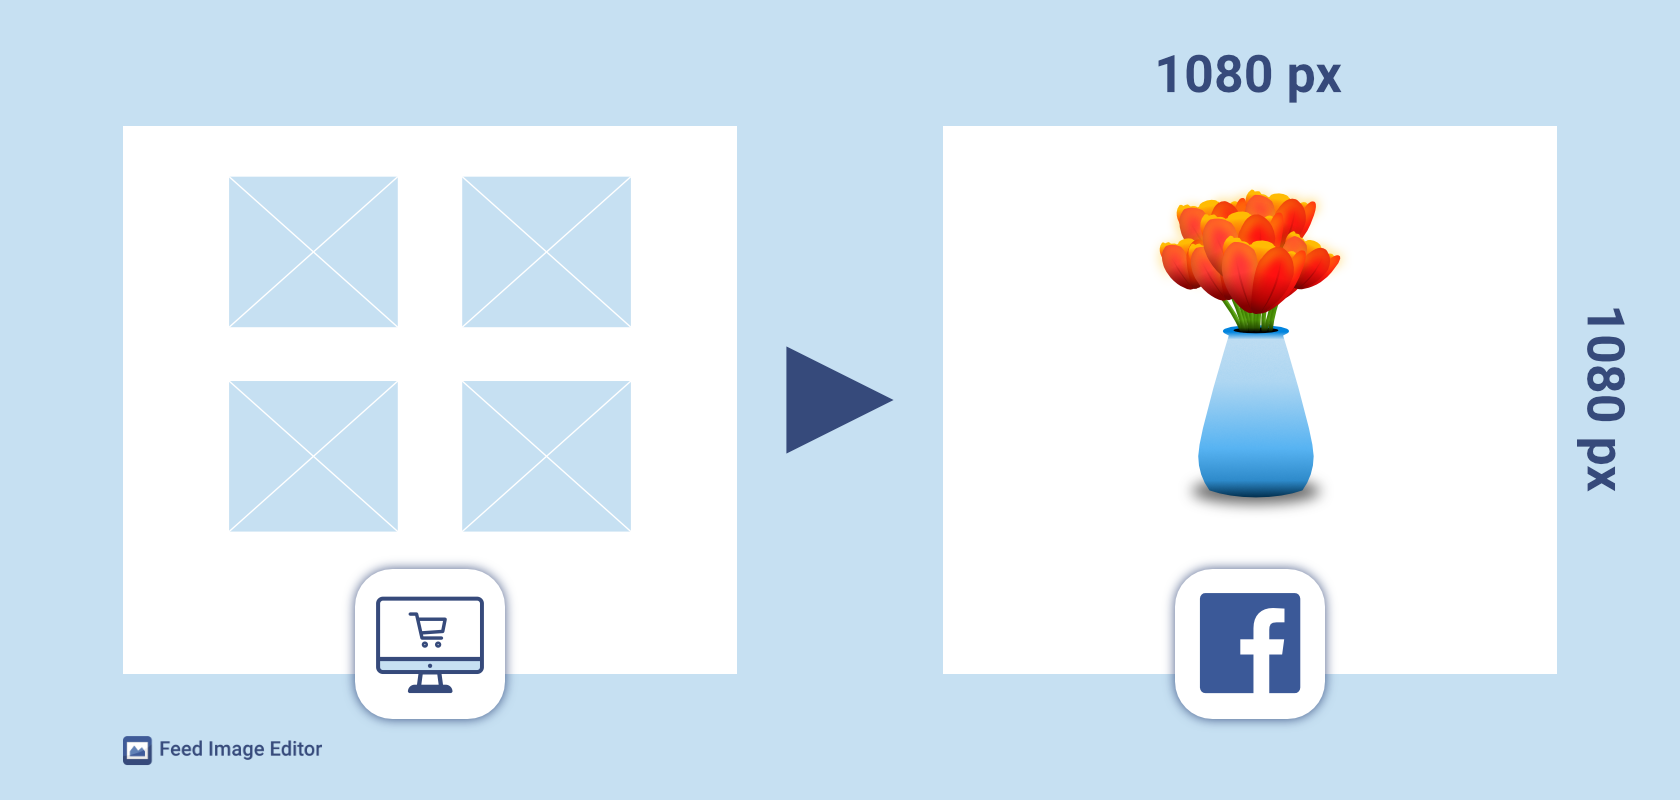
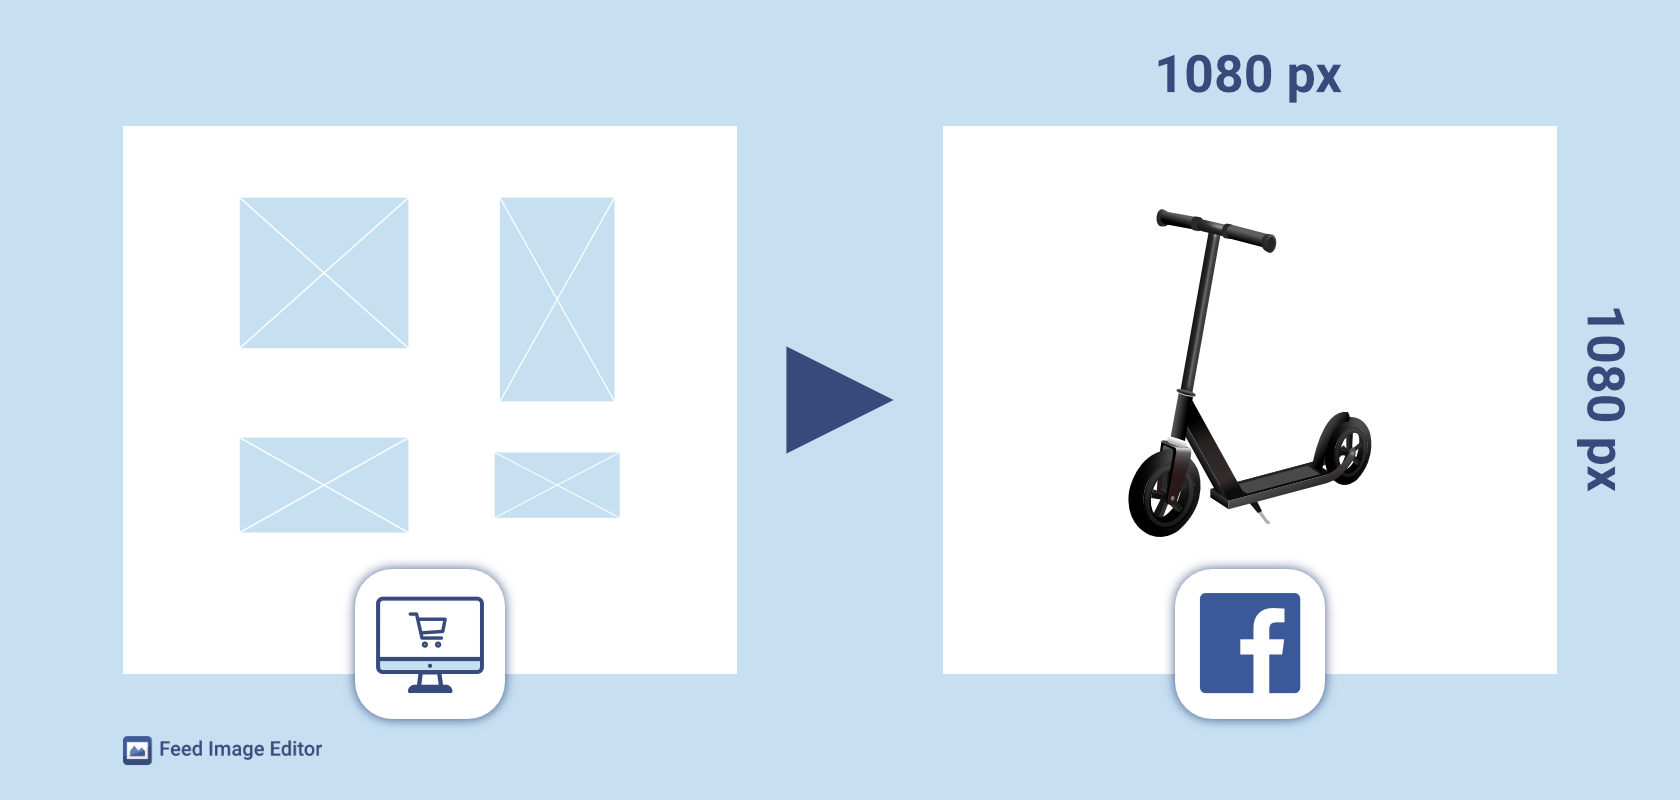
👉 Fit to the dimensions of the output format
The most versatile solution that guarantees all images will be adapted to the output format. It is especially suitable if you have product images in different sizes and aspect ratios - portrait, landscape, the same ratio.
TIP
When customizing images, you have the option to manually resize the product in them. In the Overlay Width setting, you change the adjustment level for all images in bulk. Users utilize this feature when they want the products to fill a larger area of the entire image, and there is less white background. It is the ideal choice if you want them to be smaller and have room for discount labels.
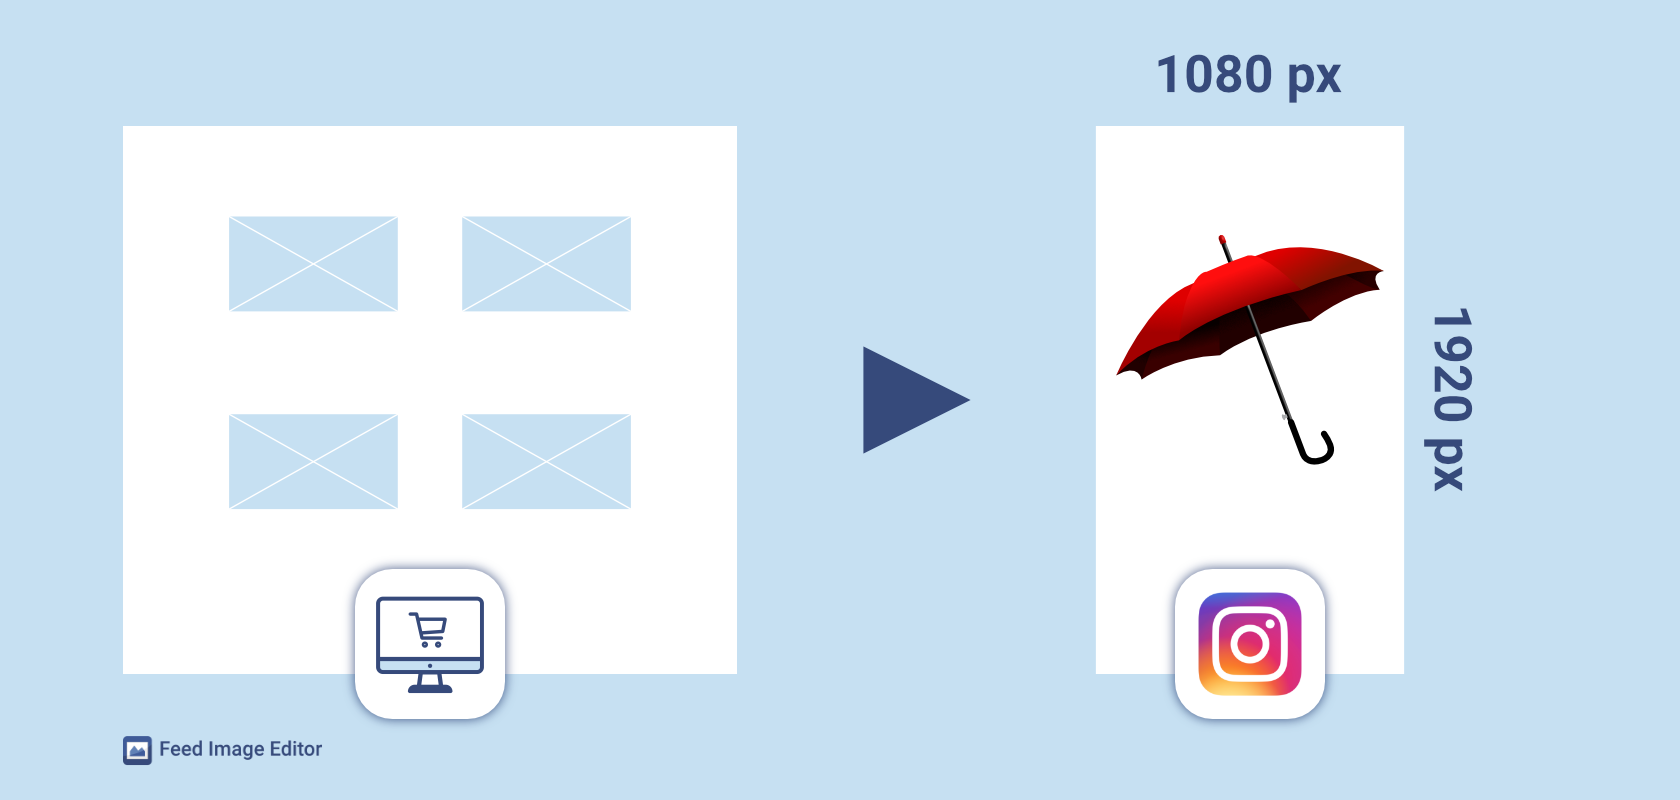
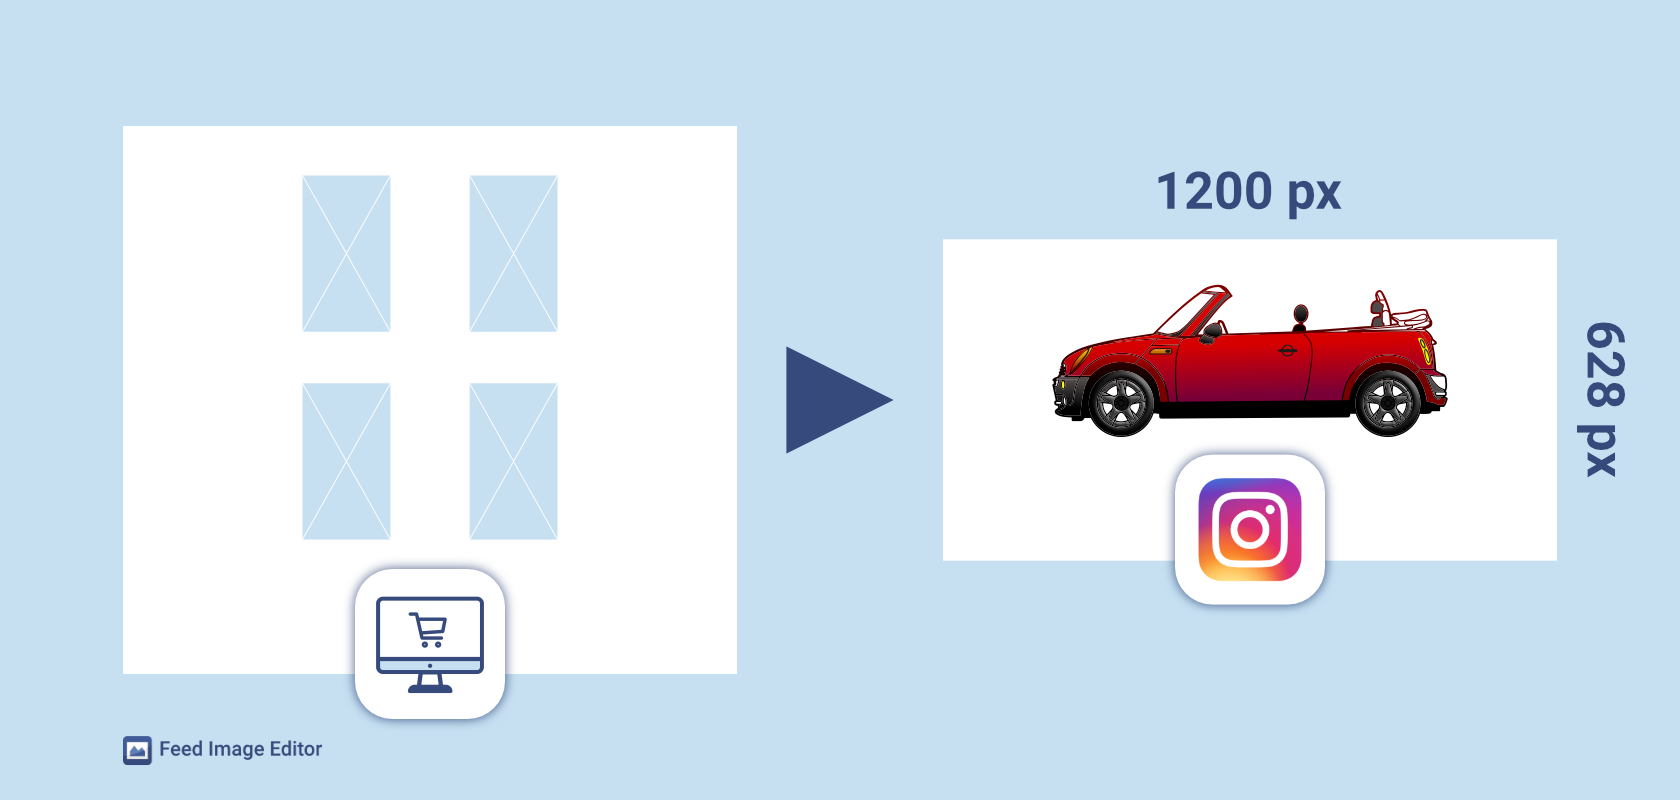
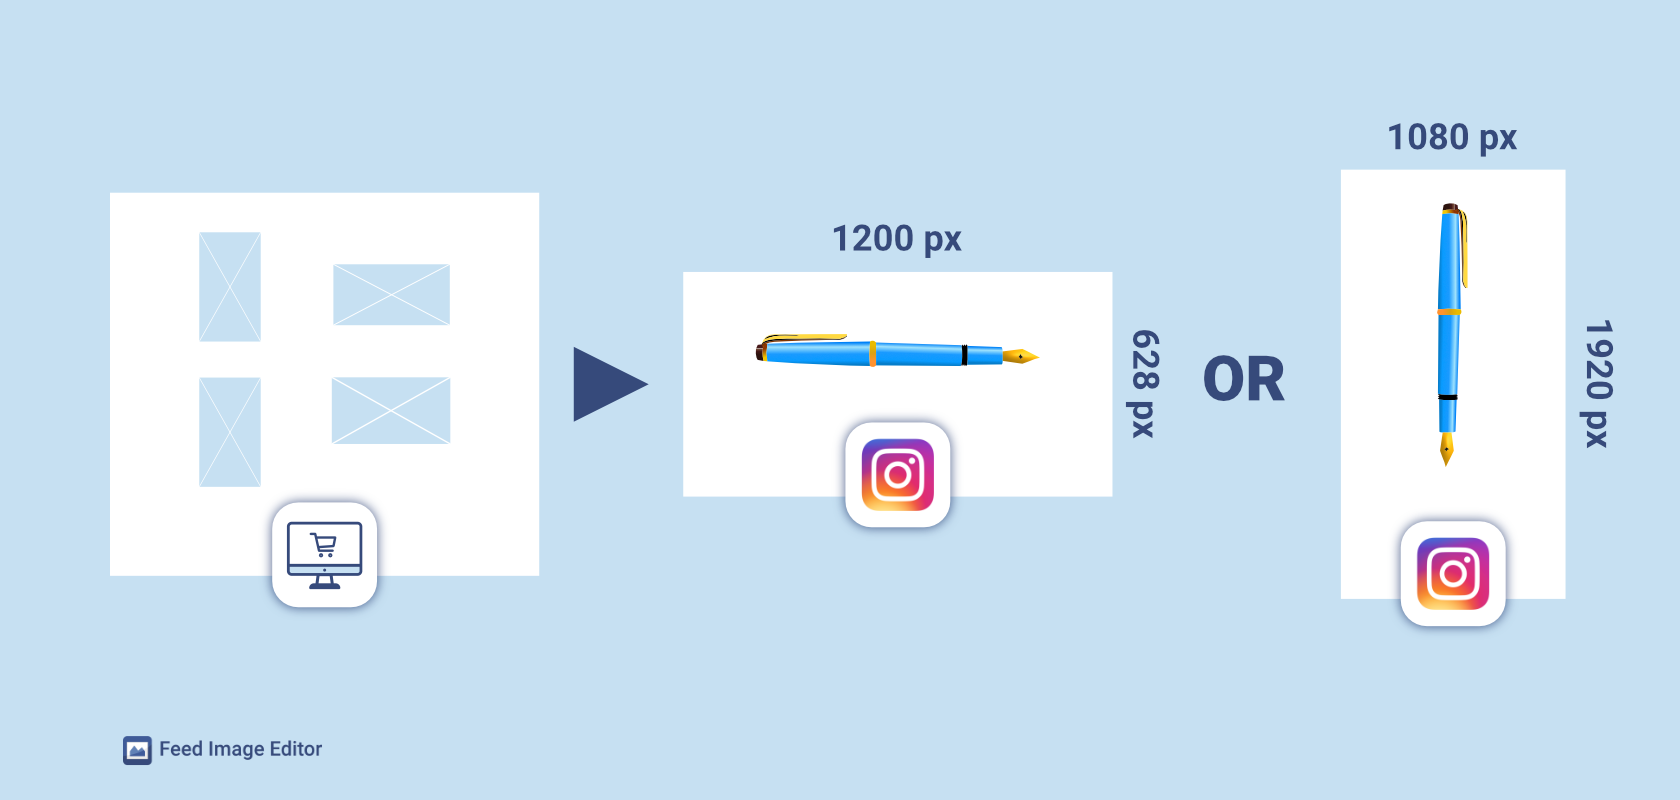
👉 Adjust the width of the image
It is also useful when the image's pixel width is bigger than its height, and you want the output to be exactly the opposite (for example, the 1080 x 1920 format for Instagram Story).
👉 Adjust the height of the image
As in the previous case, portrait adjustment is advantageous if the output format is landscape-oriented (for example, 1200 x 628 for Facebook). Images are oppositely oriented - they have a bigger height than width.
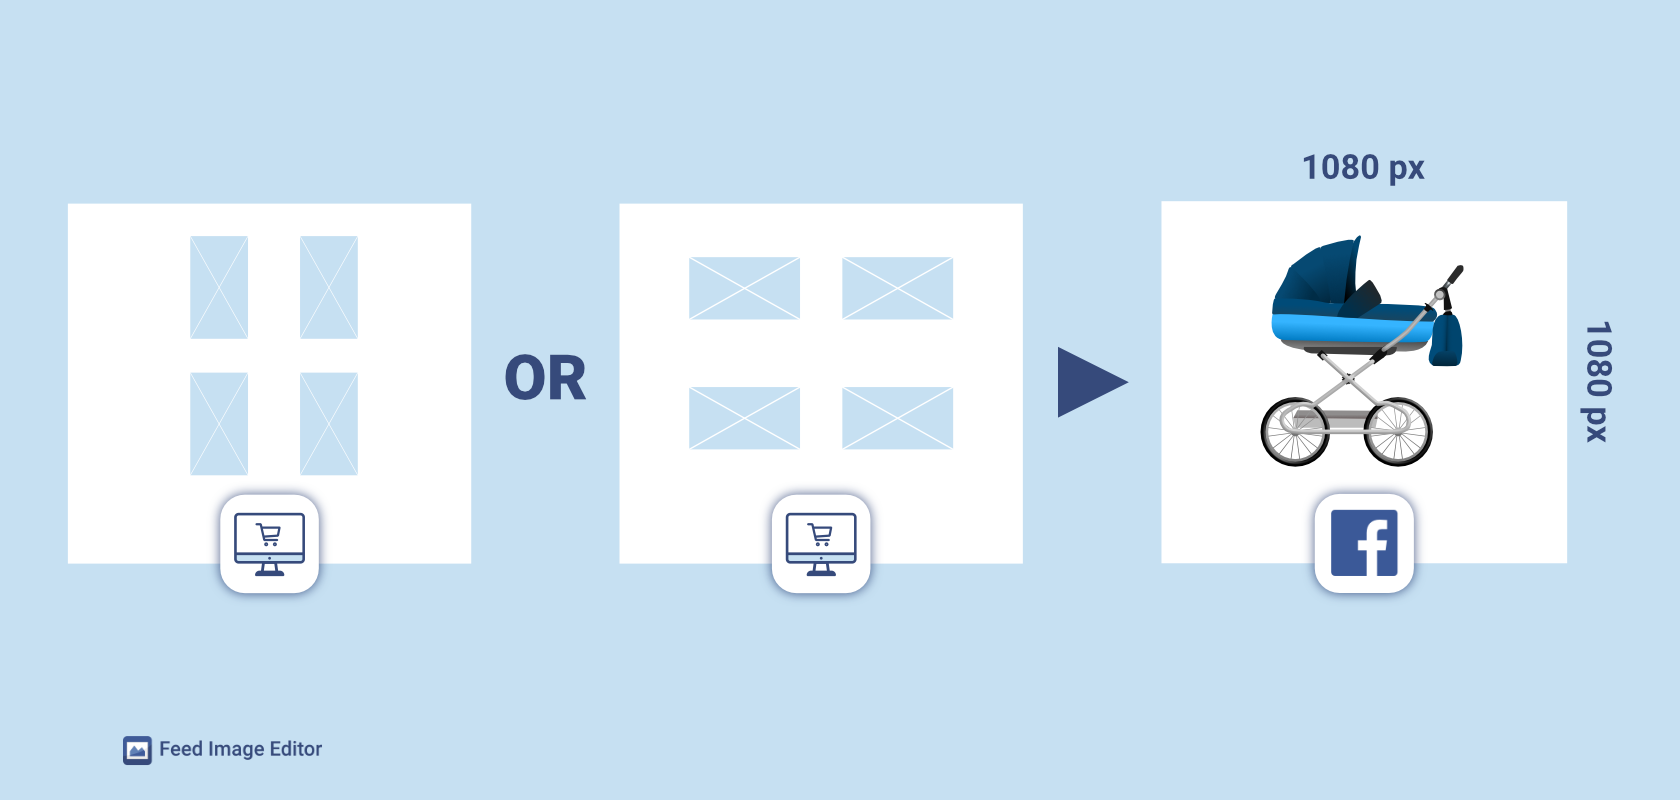
👉 Adjust to the larger image size
Select this option if you do not know how your images are oriented.
👉 Adjust to the smaller image size
If you only have portrait/landscape images or have a lot of white backgrounds, and you want the output to fit the square format, this setting is the optimal choice for you. The white background will be cropped, and your products will fill a larger area in the central image.
Be careful if the product fills a proportion of the image. In this case, the product may be cut off at the output. Then we recommend choosing a different customization setting.
We believe that setting up a suitable output format will be a breeze for you with this guide. Do you need help with product image customization? Contact our customer support or get a free online consultation.
Add new comment